Are you looking to capture the ultimate drone selfie, but unsure how to make it perfect every time?
It’s easier than you think once you know just a few tricks.
Read on for a comprehensive guide that will walk you through the process, ensuring you get those stunning aerial self-portraits effortlessly and quickly.
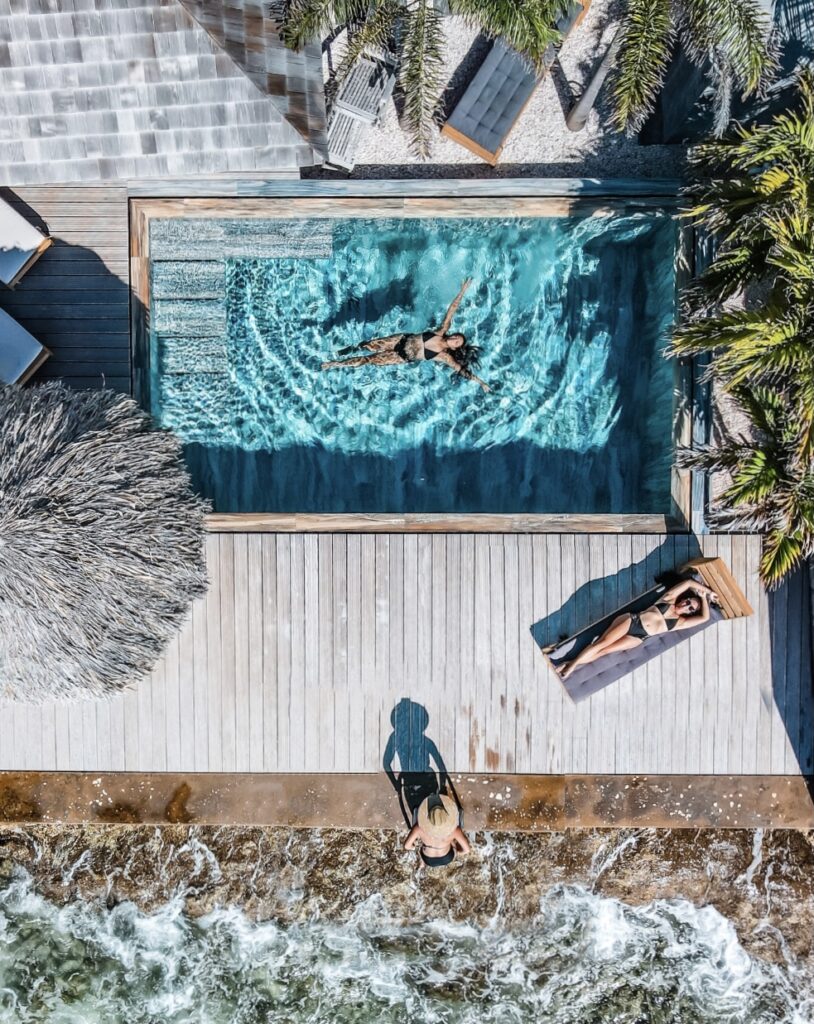
Drone Selfies Are Easier Using the Photo Timer
The timer feature on your drone is your best friend for selfies.
By setting a short interval, such as every two seconds, your drone can continuously capture photos, increasing your chances of getting that perfect shot.
This method is more efficient than taking single shots and allows for a variety of images to choose from.
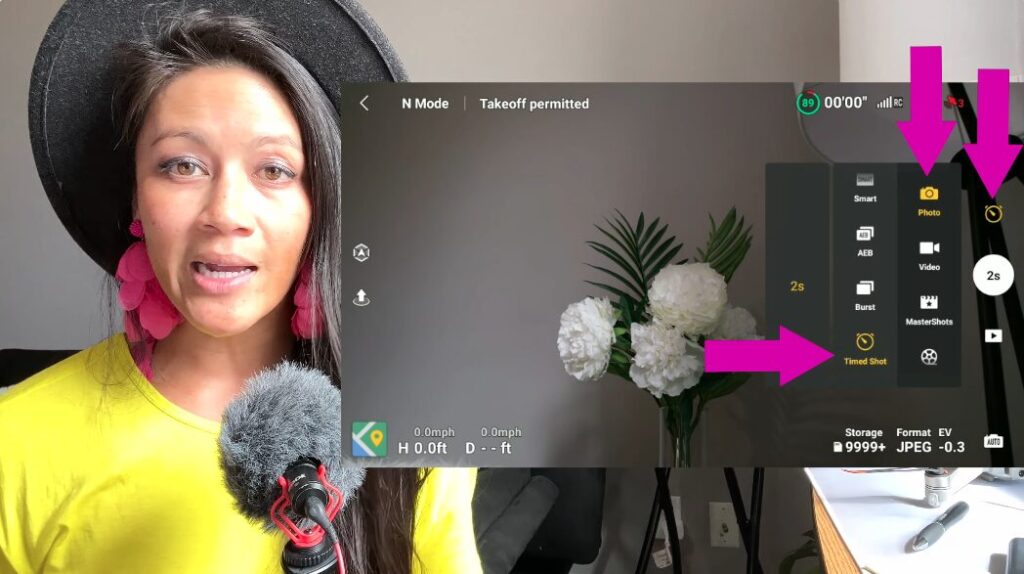
Simply go to photo > timed shot > then set the timer to 2 seconds. See photo below for exactly how:
Creatively Setup Your Drone Shot
Before you start snapping away, it’s crucial to setup your shot.
Consider the background and how it complements you, the subject.
Think about the height and angle of your drone and one thing to consider – DEFINITELY shoot in multiple heights. Start with the EASIEST height first.
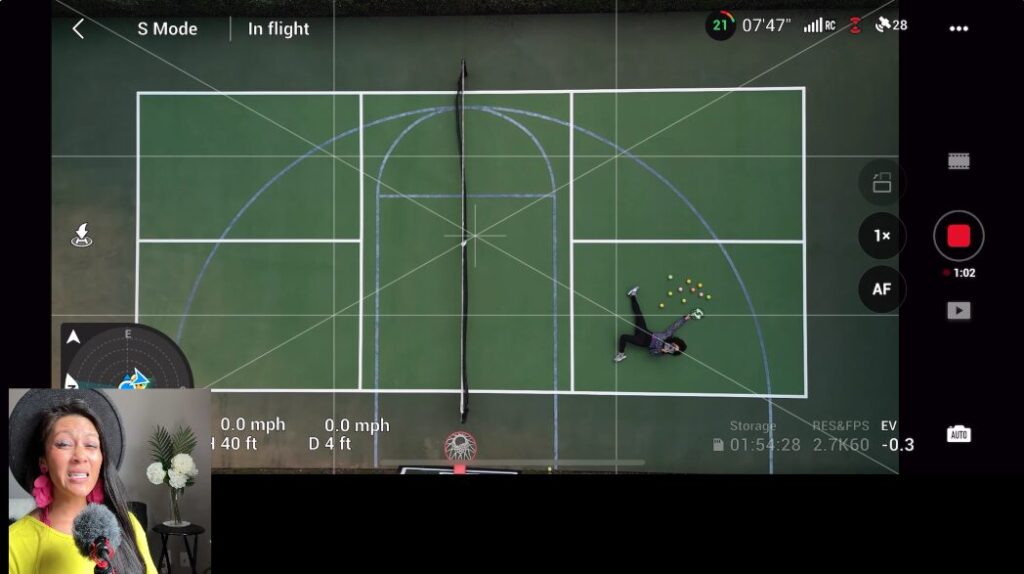
I often recommend a top down shot – it’s a point of view that a drone gets easily and any other camera has a hard time capturing.
In the screenshot below, I’m setting up a shot and looking at my controller to see how it looks before I start taking the photos.
Strategically Place Your Drone Controller To Edit It Out
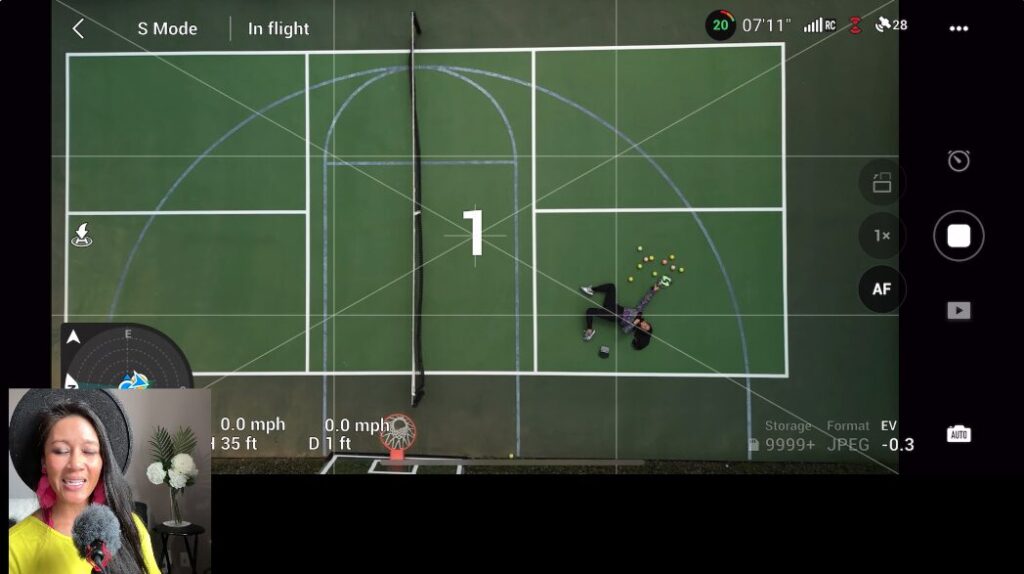
When you’re ready to take photos, make sure to place your drone controller either COMPLETELY out of the frame or far enough away from your person (or other objects) so it’s easy to edit it out in the post edit.
Not sure where to put it? You can hide it under a prop or simply place it far enough away so it’s not in the shot.
In the screenshot below, the controller is on the green background far enough away from everything that I can quickly edit it out in Lightroom or Photoshop.
With the Photo Timer Going, Change Your Poses Every Few Photos
Variety is key in drone selfies. I like to keep the volume loud so I can easily listen for the camera’s clicks and can change my pose after a couple of shots.
This approach provides a range of images to choose from and keeps your photo series dynamic and interesting.
There’s nothing worse than having 15 photos of the same pose that are all didn’t work out.
Want to WATCH the full video tutorial? Check it out in the video below!
Before Ending Your Drone Flight, Check Your Footage
Before bringing your drone back to the ground, take a moment to review the photos you’ve taken.
This step is crucial to ensure you’ve captured the shots you want.
If something’s off, you can quickly retake the photos without the hassle of setting up again.
Become a PRO at flying your drone
MASTER your drone and gain the confidence to EASILY fly!
Whether you’re just getting started, or trying to become an advanced pilot selling your drone photography and videography, consider checking out the drone courses!
Quickly Download Footage and Edit Off Your Phone (or elsewhere)
Once you’re satisfied with your shots, download the footage to your preferred device for editing.
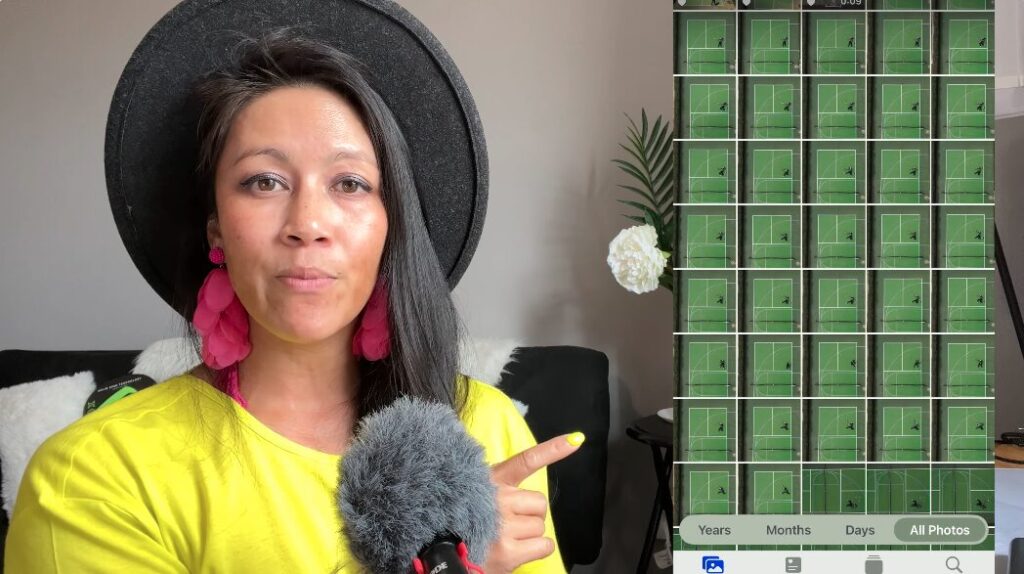
For me, I send it to my phone so I can quickly SCROLL through the photos and QUICKLY mark those that I like with a heart.
Then I DELETE anything that doesn’t have a heart and I can start the fast editing process on the selected “favorited” photos.
Creative Drone Selfie Idea
How about a triple top down selfie. In other words – YOU in the shot, three times, taken and edited in minutes!
In the video below I share exactly how to do it.
Bottom Line
Easy right? In summary, taking the perfect drone selfie involves:
- Using the timer for continuous shooting.
- Carefully setting up your shot for the best composition.
- Strategically placing your drone controller out of the frame.
- Changing poses regularly to add variety.
- Checking your footage before landing to ensure quality.
- Downloading your footage for detailed review and editing.
By following these steps, you’ll be well-equipped to take stunning, professional-quality drone selfies that are sure to impress. Remember, practice makes perfect, so don’t hesitate to experiment with different settings and techniques.
Watch the full video tutorial to follow along!