If you’ve ever felt disappointed with how your drone photos and videos appear on social media, you’re not alone.
Here’s the thing: you might have done everything right, but the results are NOT what you are looking for.
In this blog post, four essential tips (and a bonus one!) to make sure your drone content looks GREAT every single time.
1. Don’t Rely on Cached Footage
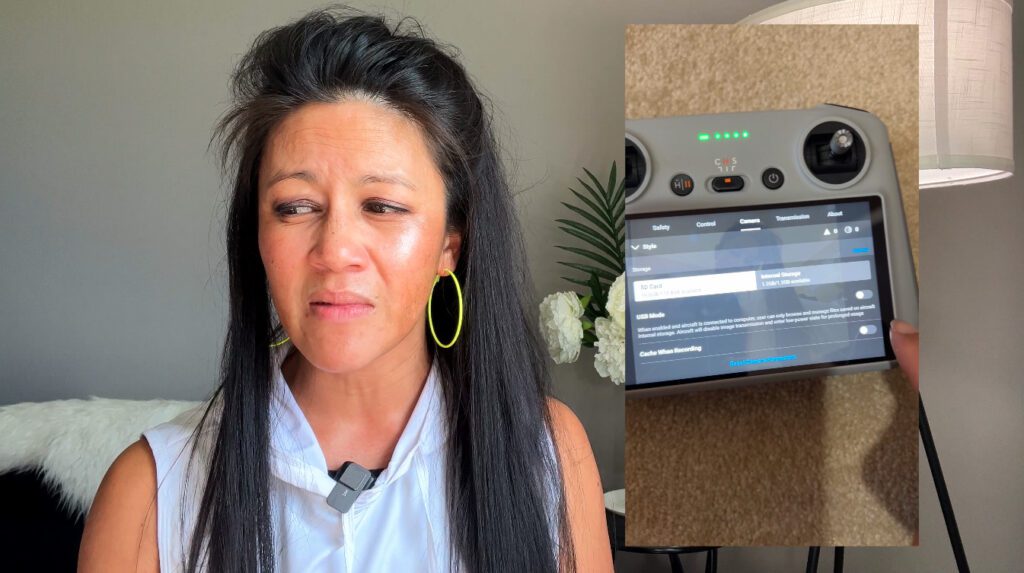
One of the primary mistakes people make is posting cached footage.

For those unfamiliar with it, cached footage is essentially the low-quality preview of your actual, high-resolution content.
You don’t want this.
To address this within your drone’s controller, simply head to the three dots under settings. Once there, navigate to the camera, and as you scroll down, you’ll find an option that mentions ‘cash when recording’. Turn this off.
By doing this, you eliminate the risk of confusing the low-quality preview with the high-quality shot you want to share.
2. Opt for the Highest Camera Settings
The second mistake ties in with camera settings.
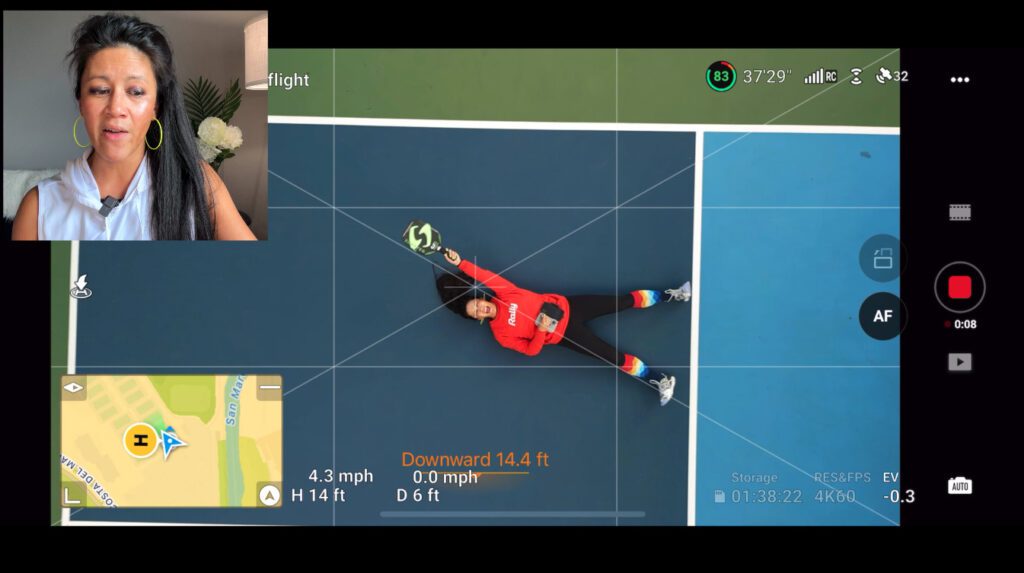
Always strive to shoot in the highest quality manageable. Yes, storage can sometimes be a limiting factor, but you’ll want to aim for 4K or at the very least, 2.7K.
Some might argue that 1080p suffices, especially for platforms like Instagram or TikTok.
However, remember that these platforms compress your content. Starting with a higher resolution ensures you retain more detail even after compression.
It’s always better to begin high and allow the platform to compress, rather than beginning with a low resolution and watching the quality diminish even more.

3. Check Your Editing Program’s Export Settings
The third tip is all about your editing programs. It’s not just the social platforms that compress; sometimes, your software does too!
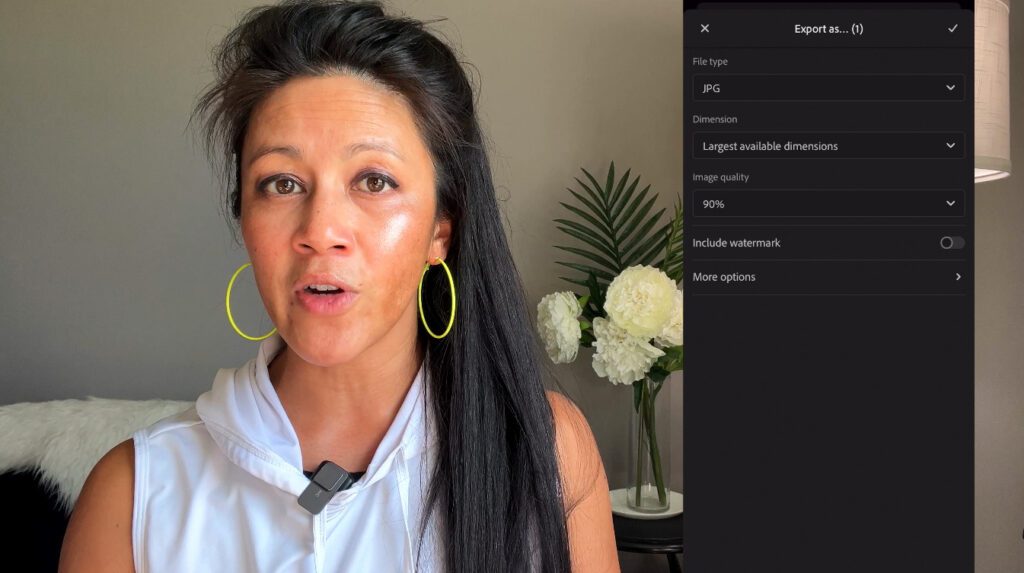
For instance, within Lightroom, the default setting is to export your content at 80% of its original quality. You’d want to tweak this. Ensure you set it to 100%. The same rule applies across most editing programs and mobile apps.
Before moving content to your phone or any other device, always verify your export settings.

4. Don’t Let Social Media Platforms Compress Your Work Further
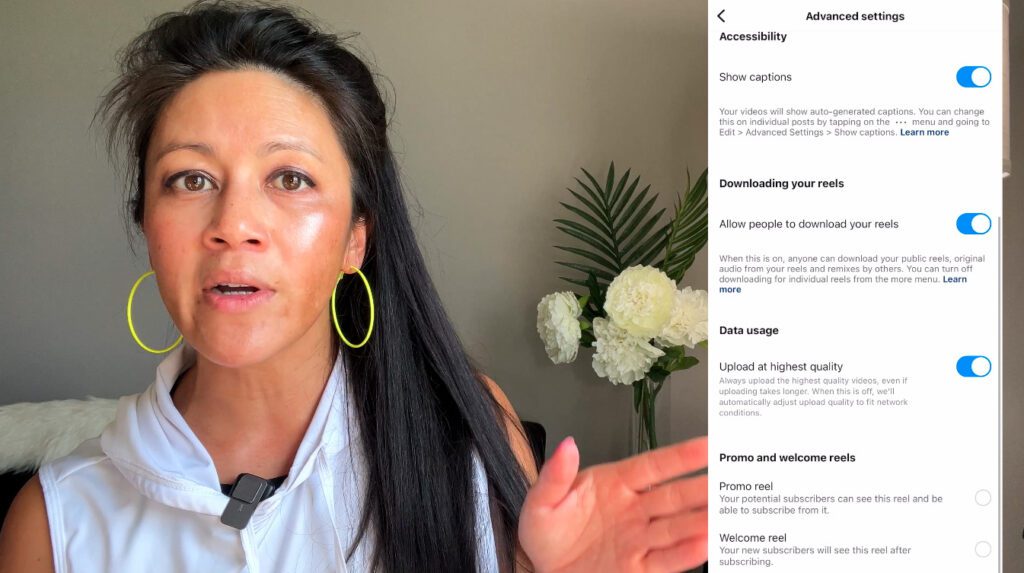
And finally, the fourth tip: always ensure your chosen platform posts your content in its highest possible quality. Both Instagram and TikTok, to name a couple, will compress your uploads by default, often to save on cellular data usage.
Dive into the advanced settings of these platforms and select the option to upload in the highest available quality.

This blog post goes along with a full video tutorial. Check it out by clicking here or see below!
Want more? Consider Using ND Filters for Cinematic Looking Footage
ND filters, or Neutral Density filters, are essential tools for both photographers and videographers using drones, offering a range of benefits that can significantly enhance the quality of aerial footage. Here’s why ND filters are helpful for drones:
1. Control Over Shutter Speed:
- In videography, there’s a general rule of thumb called the “180-degree shutter rule”. This rule suggests that your shutter speed should be set at double your frame rate for cinematic motion blur. For example, if you’re shooting at 30fps, your shutter speed should ideally be 1/60th of a second. On bright days, achieving this shutter speed without overexposing your footage can be challenging. ND filters help reduce the amount of light entering the lens, allowing for adherence to this rule without overexposing your shots.
2. Reduction of Glare:
- Drones often capture footage from high altitudes where sunlight can be very intense. The resulting glare can sometimes cause undesirable reflections, especially over water or shiny surfaces. ND filters can help reduce this glare, resulting in cleaner, clearer footage.
3. Enhanced Color Depth:
- By controlling the amount of light entering the sensor, ND filters can help maintain the richness and depth of colors, ensuring they don’t get washed out, especially in harsh lighting conditions.
4. Improved Footage Smoothness:
- Especially for drone videographers capturing fast-moving objects or scenes, having a fast shutter speed can result in footage that looks jittery or has a “staccato” effect. An ND filter can help reduce shutter speed, making for smoother footage that’s more pleasing to the eye.
5. Allows for Wider Apertures:
- In certain conditions, you might want to shoot with a wider aperture to achieve a shallower depth of field (even if this effect is more subtle with the wide-angle lenses often found on drones). An ND filter can reduce light intake, allowing you to open up the aperture without overexposing your shot.
6. Protection for the Camera Lens:
- While not its primary purpose, an added advantage of using an ND filter is that it offers an extra layer of protection against potential scratches, dust, or other contaminants.
In Conclusion: ND filters play a pivotal role in granting drone operators more creative control over their footage. They enable adherence to best videography practices, even in challenging lighting conditions, ensuring that the content captured is of the highest possible quality. Whether you’re aiming for a cinematic look, trying to combat intense glare, or simply wanting to enrich the colors in your aerial shots, ND filters are indispensable tools for drone enthusiasts.
Become a PRO at flying your drone
MASTER your drone and gain the confidence to EASILY fly!
Whether you’re just getting started, or trying to become an advanced pilot selling your drone photography and videography, consider checking out the drone courses!
Bottom Line
To ensure your drone shots shine on social media:
- Steer clear of cached footage by adjusting your settings.
- Aim to shoot in 4K or 2.7K as your baseline.
- Audit your editing software’s export settings for optimal quality.
- Command your social media platforms to post in the highest possible resolution.
By following these four steps, you’ll make sure your drone content looks as stunning on social media as it does in person. Remember, with every step in the content creation process, aim for the highest quality, and you won’t be disappointed.